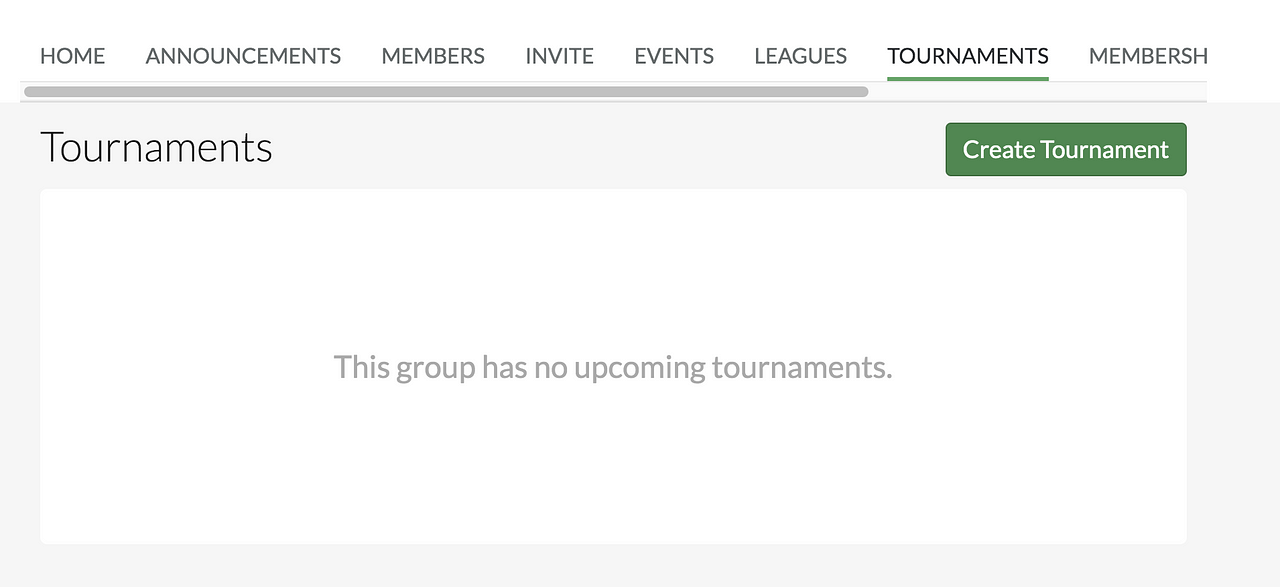
A) Getting started & select tournament type
- Starting on your Group’s homepage, tap on “Create Tournament”.
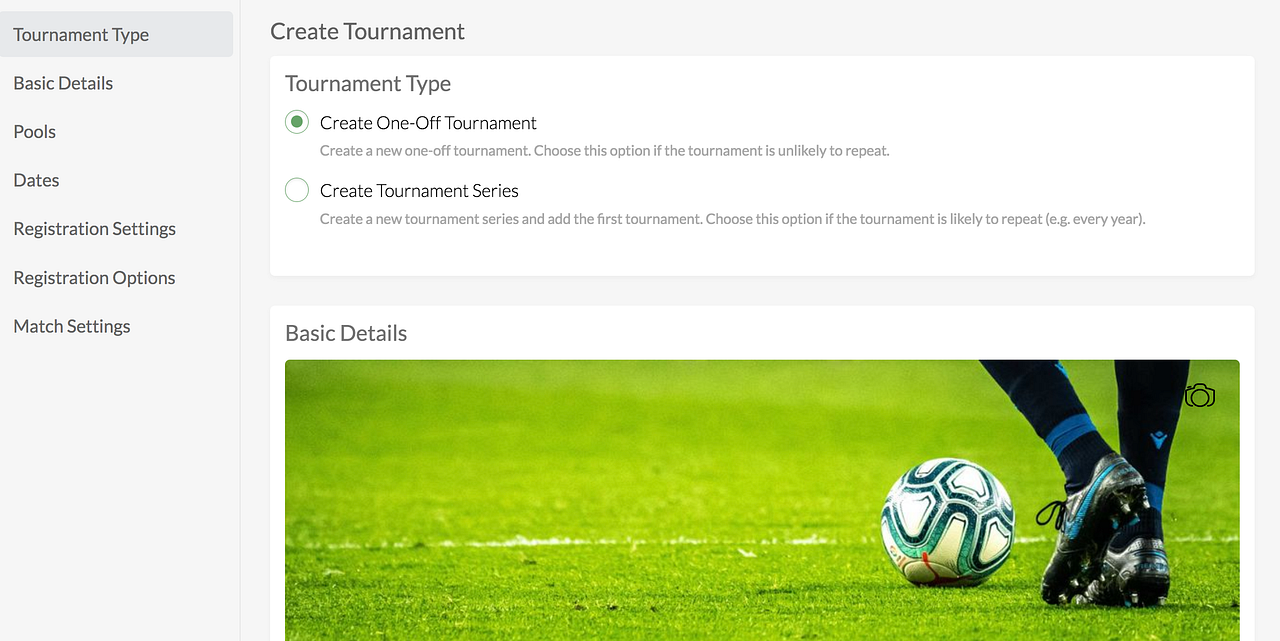
- Select the type of tournament (One-Off; or Tournament Series if it’s likely to repeat in the future).
- When setting up a tournament, ask yourself: Is this going to be a one-off standalone tournament that just happens once, or is it going to be part of a series of tournaments (i.e., an annual Labor Day tournament, or a quarterly tournament).
- The benefit of setting it up as a series is it will allow you to re-invite the teams that were in the previous iteration of the series, have similar settings, etc.
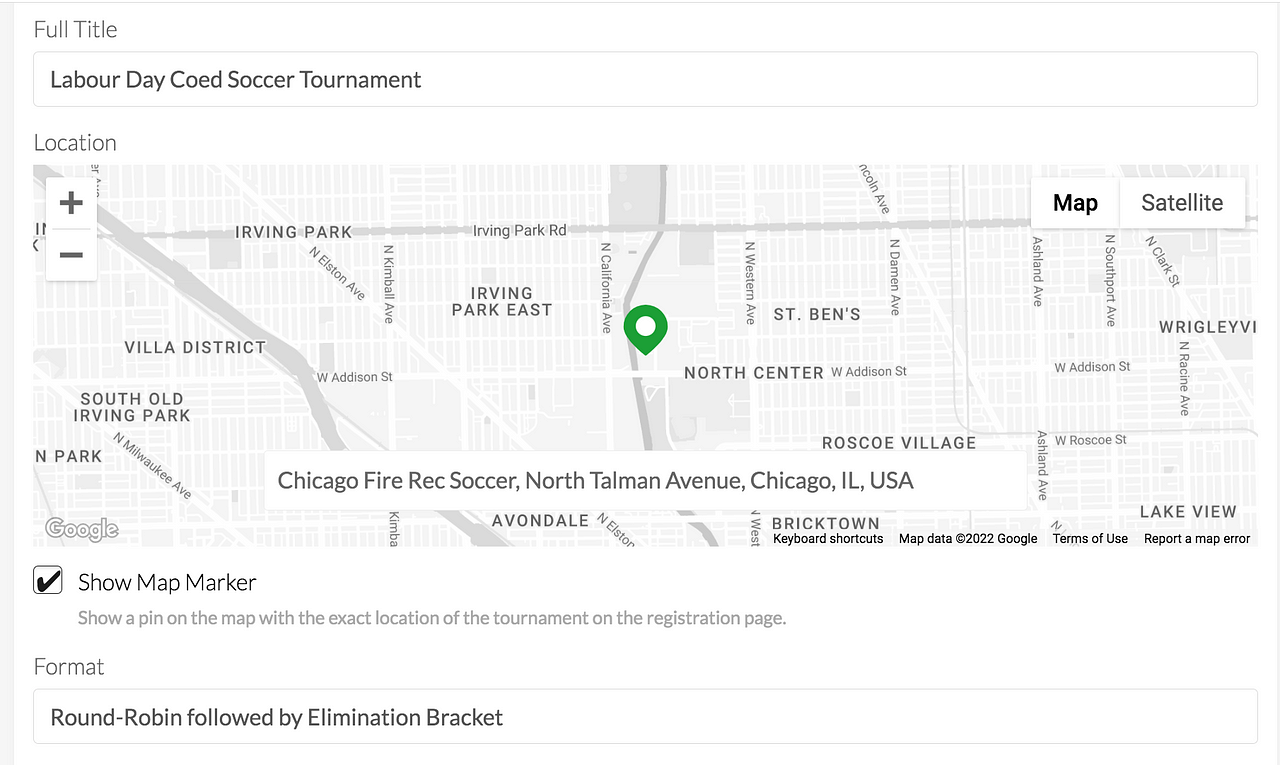
B) Basic Details
- Add a banner photo (this is what players will see in the list view of all the tournaments are listed in your group, and on the tournament registration page).
- Give your tournament a name/full title (if it’s a multi-series tournament, this space will automatically fill with the tournament title and season name). This title will be used identify the tournament and season to potential players looking to join a tournament.)
- Format — OpenSports tournaments can support both a round-robin stage and an elimination (playoffs) stage, or just one of the two.
- Description — be creative and promote your tournament! This field is markdown enabled (see https://www.markdownguide.org/cheat-sheet/ for more details on markdown).
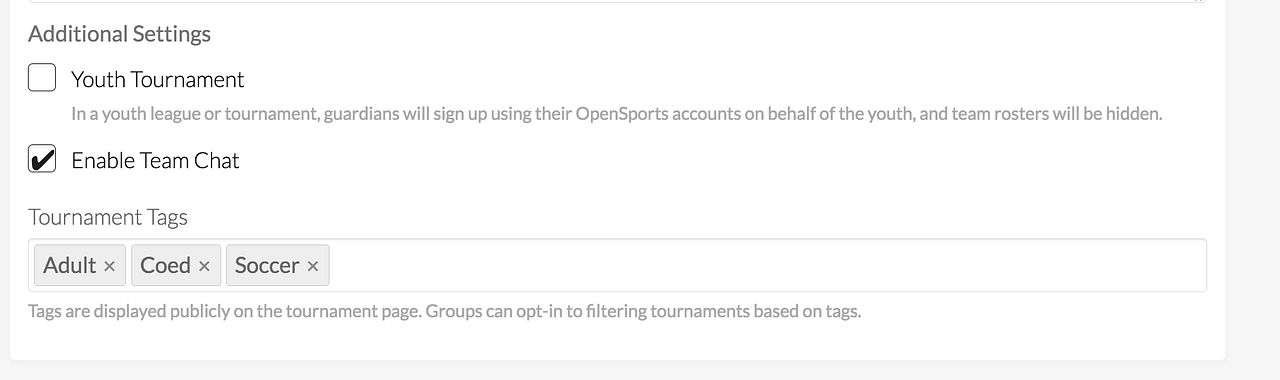
Additional Settings
- Youth Tournament — In a youth tournament, guardians will sign up using their OpenSports accounts on behalf of the youth, and team rosters will be hidden.
- Enable Team Chat — Allows players on the same team to chat.
- Tags — Tags are displayed publicly on the tournament page. Groups can opt-in to creating filters for tournament based on tags, making it easier for players to find the tournaments they are looking for.
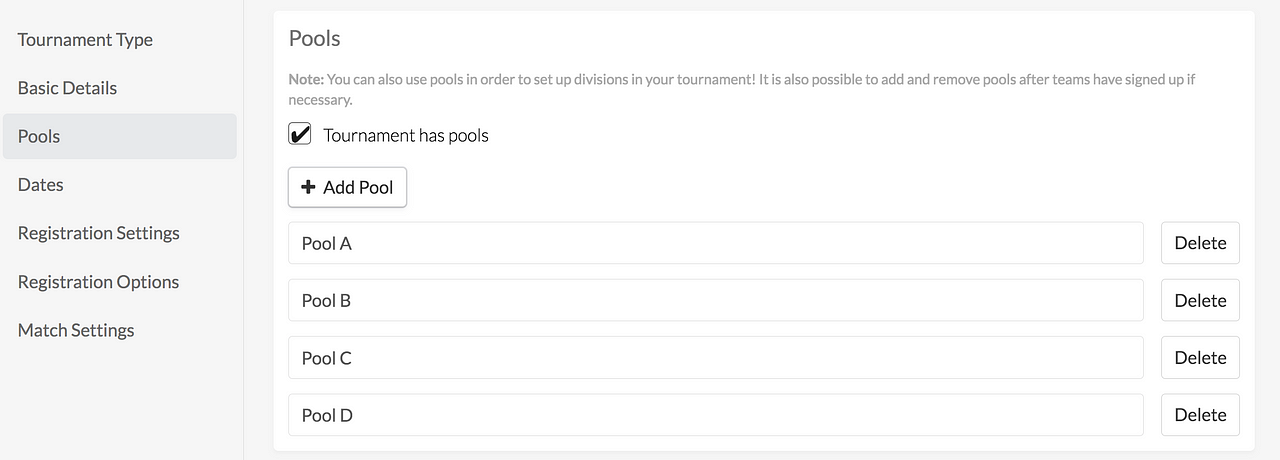
C) Pools/Divisions
Set up pools/divisions (this is optional)
- If you are operating a large tournament, you can set up pools like Eastern and Western, or Pool A, B, C, D (unlimited).
- It is also possible to add and remove pools after teams have signed up if necessary.
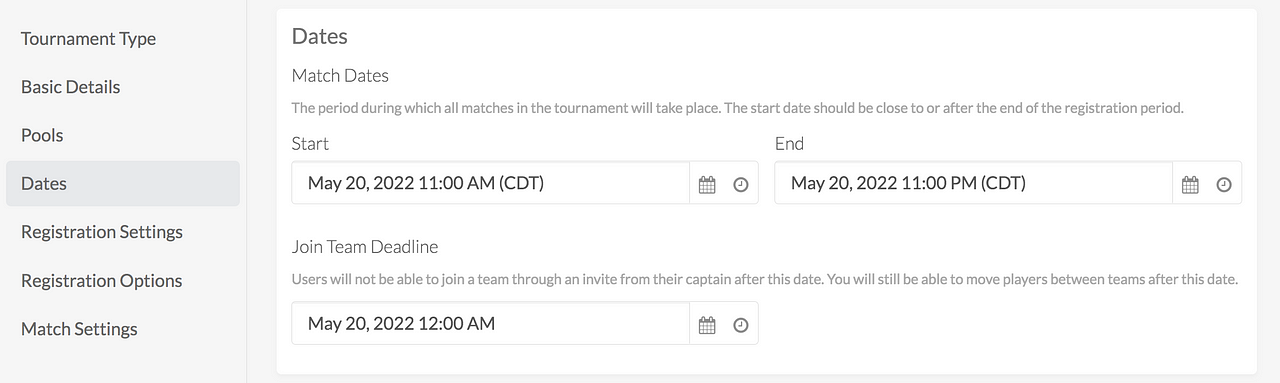
D) Key dates
- Match Dates — The period during which all matches in the tournament will take place. The start date should be close to or after the end of the registration period.
- Join Team Deadline — Players will not be able to join a team through an invite from their captain after this date. You will still be able to move players between teams after this date.
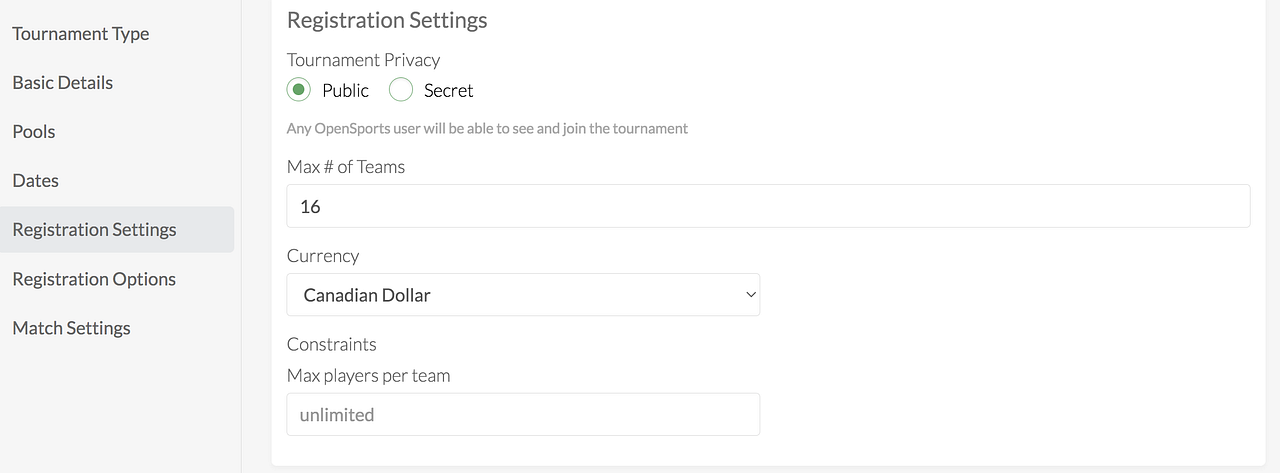
E) Registration Settings
- Tournament Privacy — Secret tournaments can be viewed and registered for by anyone with the link, but they will not appear in the lists on the discovery or group pages.
- Max number of teams — The system will use this info about max # of teams to help you create team registration tickets (so that, for example if the max is 16, you can’t sell tickets for more than 16 teams)
- Payment currency
- Max players per team roster — OpenSports will not allow more than the max players per team to register for a team.
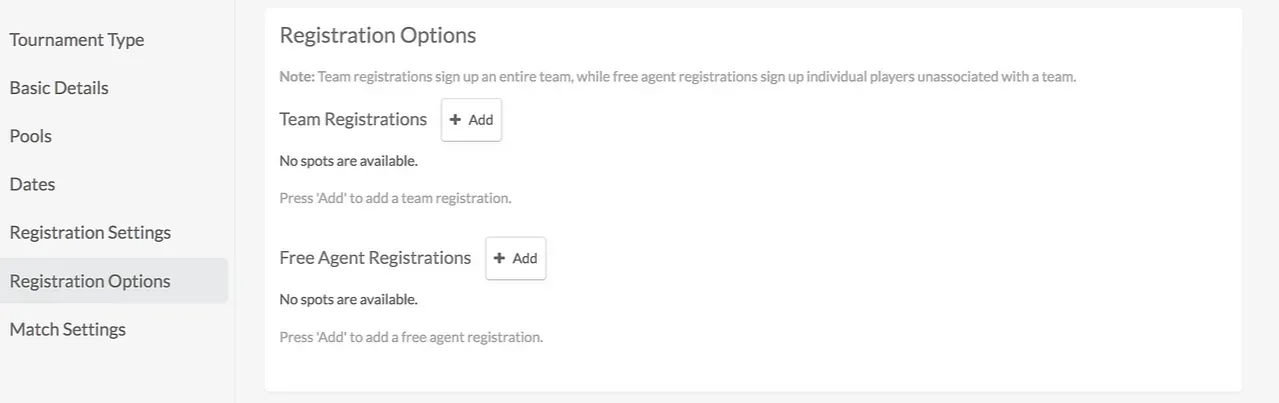
F) Add Registration Options — how players/teams will sign up
OpenSports offers a wide array of registration options. Two popular options are by Team (with multiple ways to collect payment) or by Free Agent.
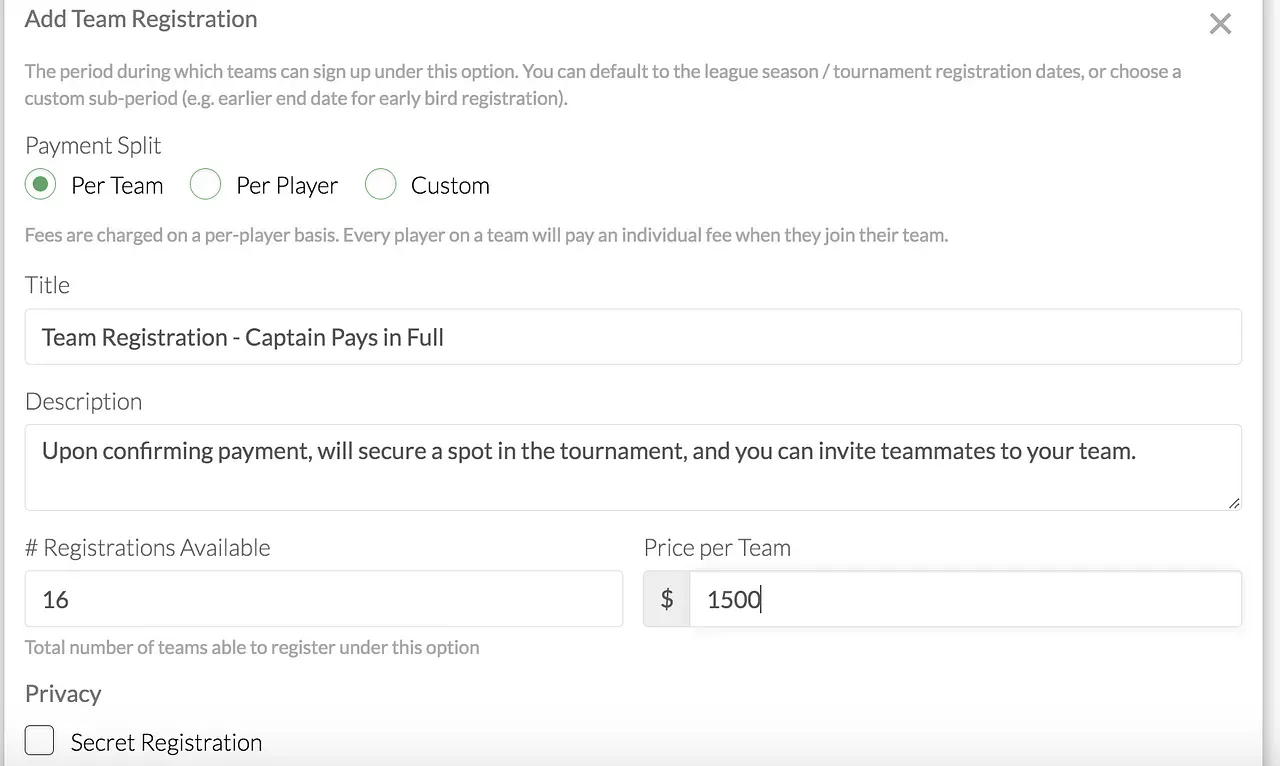
- Registration options for Team Registrations — Captains will sign up their team and players will join the team created by their captain. Team payments can be paid in 3 ways:
- Captain pays the whole team fee up front (aka “Captain pays in full”);
- Fixed price split payment;
- Custom Payment Split.
- Free Agent Registrations — players register as free agents, and the tournament admin can assign them to a team later on. This option is popular for tournaments where everybody registers as free agents and the tournament admin assigns everyone to teams manually, or for youth tournaments. In this case, do not add any team registrations.
We provide a detailed guide and breakdown of all the registration options/ways players can pay here.
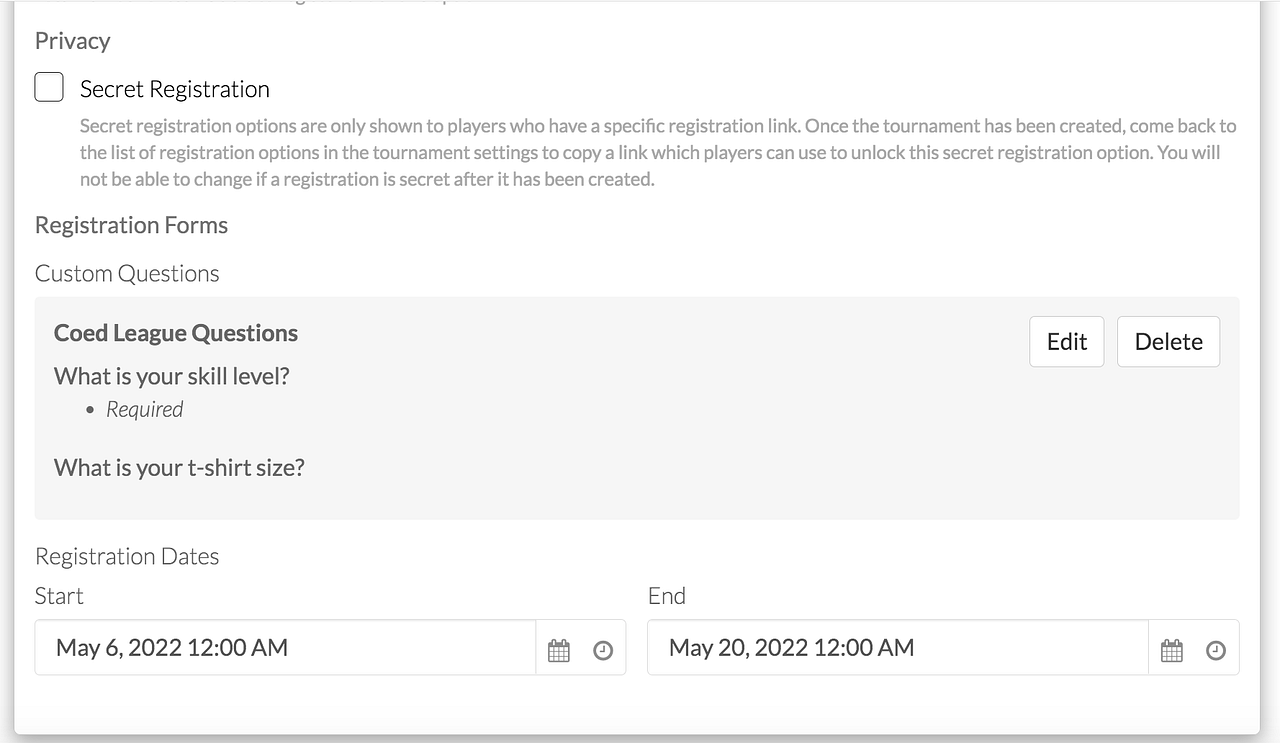
Privacy — Secret registration options are only shown to players who have a specific registration link. Once the tournament has been created, come back to the list of registration options in the tournament settings to copy a link which players can use to unlock this secret registration option. This is a great way to create discounts for teams or free agents. You will not be able to change if a registration is secret after it has been created. More abut secret registrations here.
Custom Questions — if you would like captains & players to answer custom questions while they are registering as a player in your tournament
- Tap “New List of Questions” to start creating your custom questions, such as “what is your t-shirt size?”
- You can toggle on “Required” if you require for that question to be answered, and the min and max characters allowed in the answer
- Click on “Add New Question” if you would like multiple questions to apply to that registration
- Tap Save when you have added all the questions, and you will be able to preview the questions from the Team Registration set up page
- Review the info and tap “Save”
Registration dates —The range of dates when this registration option for the league is discoverable to players, and can be registered for.
Add — Click on the Add button if you want to add additional registration options (i.e., split payment, free agents, early bird, mid-season registration…) The options for registration types are endless!
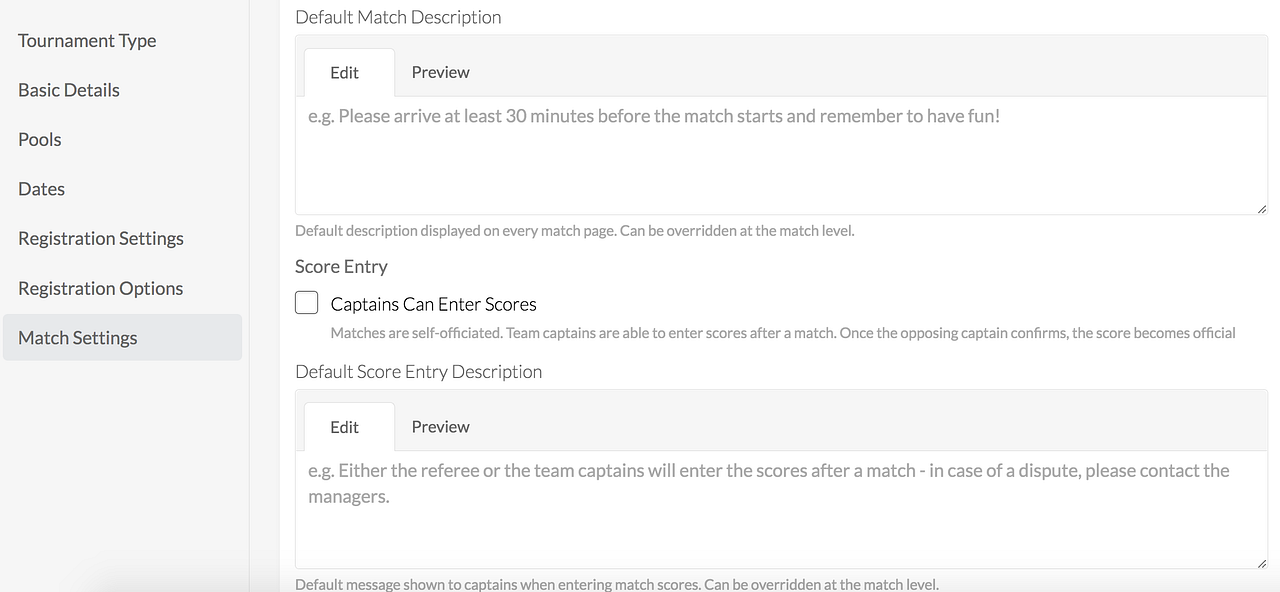
G) Match settings
- Default Match Description (optional) — Default description displayed on every match page. Can be overridden at the match level.
- Score Entry — Specify whether matches are self-officiated by toggling on Captains Can Enter Scores. If matches are self-officiated, captains will be able to enter the scores after each match. Once the opposing captain confirms, the score becomes official. Otherwise, only league admins will be able to enter scores.
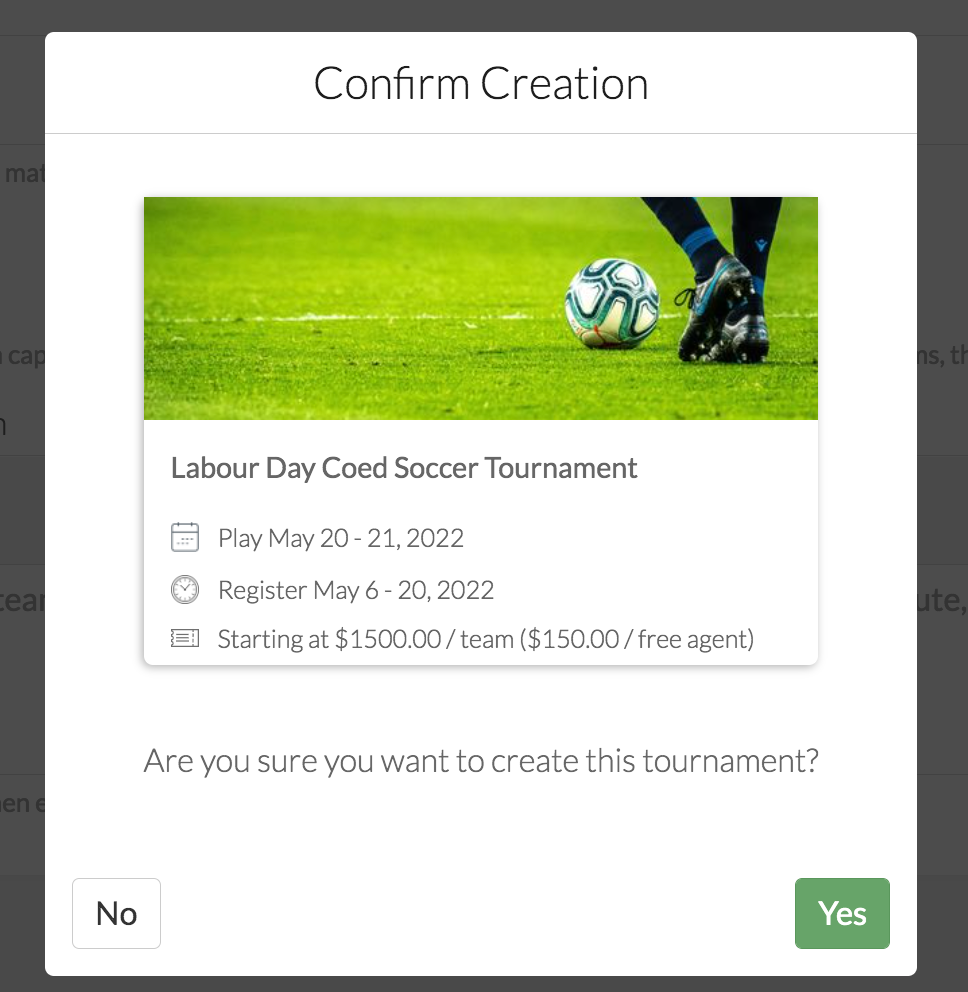
- Click “Save” and confirm you wish to create the tournament. This will show you the card view/list view that players will see on OpenSports. When they click on it, they will be able to view the full registration page.
- Once you confirm tournament creation, You will be re-directed to the Dashboard view.
H) Tournament dashboard & Edit tournament settings
Hooray! You have created your tournament! Once your tournament is created, you will be brought to the tournament dashboard home page, and you can see the navigation bar with all of your tools on the left.
- Click on “Edit” to edit many of the settings we went through above.
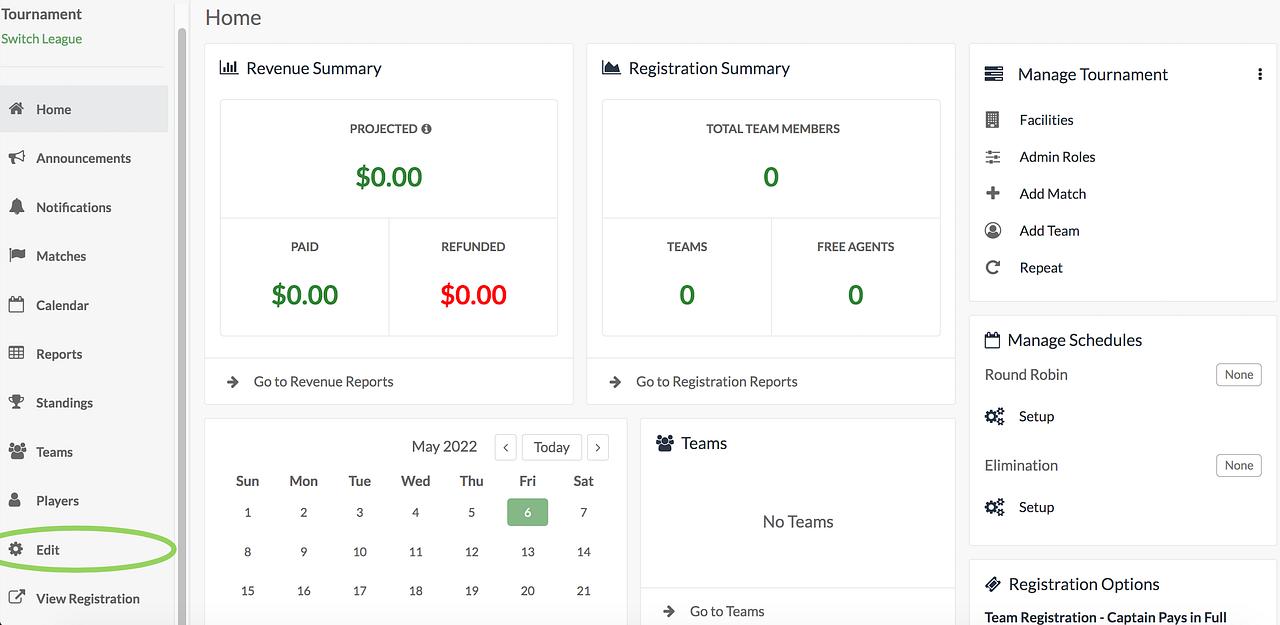
I) Invite players
Now that you’ve created your tournament, you’ll want to share the link to the tournament with everybody! That way they can register.
- You can share the link to the registration page by clicking on the View Registration button from the navigation bar. This will launch the registration page, and you can copy and paste the URL to captains/players

Let all of your club’s members know that registration is open and direct them to the OpenSports app (or your group’s web URL) so that captains and free agents can find and join the tournament.
- Only captains and free agents will register for the tournament through the team/free agent registration page.
- Once captains register their team, they can easily generate an invite link to send to their teammates to invite them to register for the team/tournament.
🍾🍾 Congrats!!! You have created your first tournament!!
To recap, in Part I of the tutorial, you’ve managed to create your first tournament!
When you’re ready, move on to Part II, where we’ll continue by creating and publishing a schedule of round robin matches.
Woohoo! Any questions about setting up a tournament… send them our way!
Questions? Send them our way: support@opensports.net